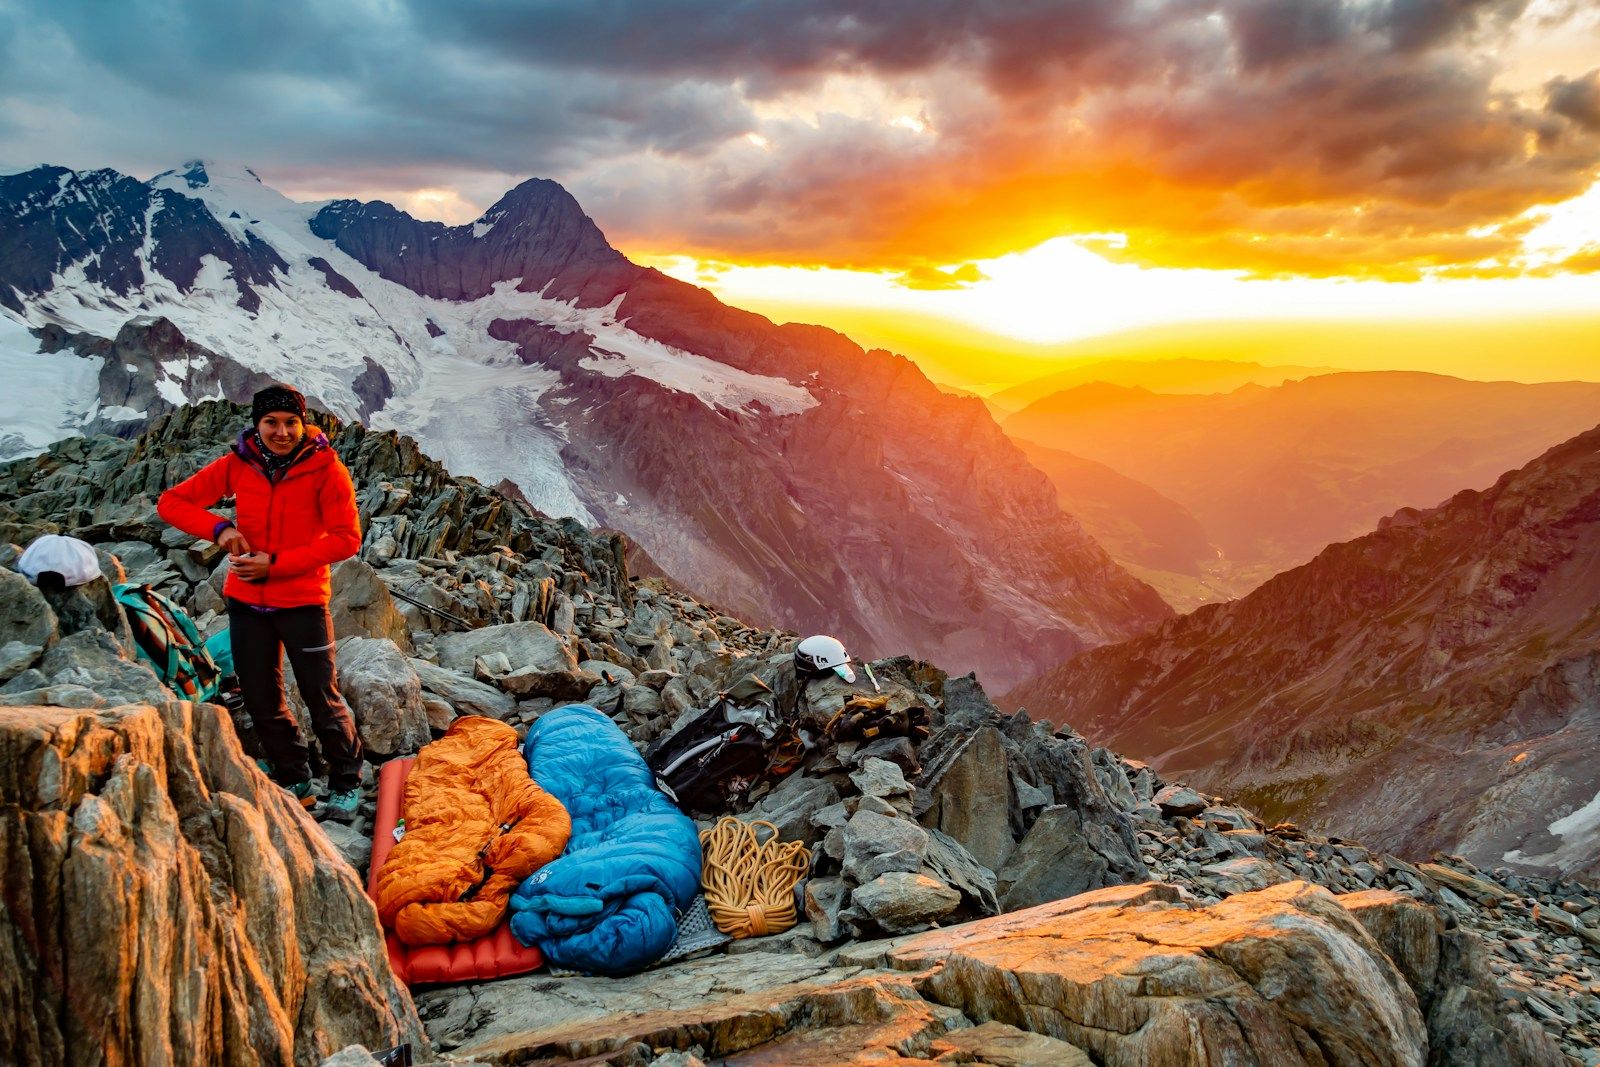
Settling around a nice, warm, well-built campfire is an incredible way to cap a day spent outdoors, relaxing and listening to the crackling sound of embers and the smell of burning wood against the stillness and silence of nature.
A campfire provides you warmth, light, and is a reliable source of heat for cooking. You can also build one to deter predators and repel insects at night. And, in case of an emergency, a campfire serves as a beacon to signal rescuers your location.
The campfire is the heart of the campsite and your comfort and survival in the wild depend on it – which is why you must learn how to build one.
How to Build a Campfire – the Basics
Caution: Building a campfire requires you to follow a series of steps to ensure efficiency and safety. Please do not skip any of these steps to avoid accidents that may cause forest fires. The goal here is to make you a knowledgeable and responsible camper.
Is It Even Allowed?
Before anything else, do your research and see if it’s allowed to build a campfire in the area. Fire bans are in place sometimes during super dry and windy days to avoid accidents.
Where to Place Your Campfire?
A campfire,If built wrongly, it can do a lot of damage, ignite bushes around it that will grow into a forest fire. So a secure location and permission to light it up, is your top priority, then:
- Find a clearing or any part that’s free of grass, decayed leaves, and dry pieces of wood within a five-meter radius.
- Make sure there are no overhanging branches above the clearing.
- Ideally, the clearing should be protected from gusts of wind that may scatter out the embers
If you meet the criteria above, then you’re good to continue. If not, you can always create a clearing by removing grass, dead leaves, sticks, and overhanging branches in your area. You can also secure the campfire from gusts by strategically surrounding it with stones and other elements.

It’s best to keep the fire minimal or skip it if you have trouble finding the right location.
The Fire Bed
After you found and secured the spot for your campfire, it’s time for some little work: the fire bed.
Dig at least four to six centimeters below the ground to create a generic earth wall or find large stones to enclose the fire without any digging. Of course, you can go deeper, higher, or a mixture of both depending on the campfire’s size.
As long as the embers won’t scatter beyond the enclosure, it’s a well-done fire bed.

Fire Wood
Before you even plan on starting a fire, you will need to find the right wood. There are three types you need to have to make sure it will last the night.
- Tinder – these can be small twigs, crusty dry leaves, duff, or anything that a match can light.
- Kindling – these are your starting embers. These are small branches or chopped one-inch wood.
- Firewood – this is your main source of fuel. Any wood that’s as large as or larger than your forearm is good enough. Make sure that they don’t have bugs, holes or burrows.
Collect as many of these as possible. Newbie campers think a few logs are enough, but in reality, they won’t last very long. So have twice or thrice than what you think you’ll need and save yourself the trouble of looking for more when it’s dark.
Three of the Best Campfire Structures
There are plenty of structures or layouts that you can do; these three below, however, are the most reliable. Which layout you choose should depend on the amount of wood that you have and your usage of the fire.

Teepee – The first layout is quick to set up, burns the hottest, and provides the most light due to its vertical structure. It also works when the firewood is damp or green. Take note that this layout consumes wood faster and requires constant maintenance. The Teepee is also not ideal for cooking.
- Place your tinder in the middle of the fire bed.
- Now enclose your tinder with kindling that’s formed into a tipi or a reverse cone with an opening.
- Do the same thing again but now using the larger pieces of wood.
- Light your tinder, and it should quickly burn through the fuelwood with ease.
Log Cabin – If you plan on using the campfire for cooking, then set up the Log Cabin. It has a more moderate burn, and it consumes less wood, too. However, this won’t work with damp wood.
- Put your tinder in the center of the fire bed.
- Enclose it by placing two large logs on its sides.
- Place the kindling on top of the base logs to create a roof covering the tinder.
- Then, put another batch of logs above the kindling until you get an extra layer.
- Light the tinder, and it’s good to go.
Pyramid – If you plan on having a campfire to last the night without any supervision or as a repellent against insects, the pyramid layout will suit you best. However, it doesn’t produce a lot of heat or light.
- Place your biggest fuelwood at the base of your fire bed.
- On top of it, place medium-sized wood perpendicularly on top of the base.
- Next, repeat the process until you’re at the kindling layer.
- At the very top of it, place as much tinder as you can.
- Light the tinder and wait until embers start forming on the kindling layer. If not, continue adding tinder, and it’s good to go.
Must-Have Camping Tools
When it comes to starting a fire, you will need tools. Yes, you can start without any equipment at all, but we have another article for that. For now, let’s focus on tools that every adventurer should have – regardless of the conditions.
- Pocket Knife – As they say, a good knife has a thousand uses. Although it seems like a knife has no value when starting a fire, that’s certainly untrue. With this tool, you can chop down wood or split them in half, carve feather sticks for tinder, and even dig the ground to make a fire bed. It also allows you to arrange the embers for a more controlled flame.

- Matchbox – A classic match is hard to beat when it comes to effectiveness and portability. This tool is also safer to use when igniting your fire starter. Unlike using a lighter, there’s no need to hold it for a long duration. You only light one or two corners of the tinder and leave that match there – and voila! That’s it.
- Torch Lighter – Having an extra fire-starting tool is always ideal. The torch lighter is best as it is more forgiving in damp and windy conditions, and it easily lights up tinder. When it comes to convenience, this tool is a sure winner. The only concern is that it runs on fuel, so you have to make sure you’re not going to use it too often. A plain lighter will work fine though, but we suggest a torch (blue flame lighter) as it is usually more durable and gust-resistant.
- Fire Starter – You can either buy fire starters or make some of your own. When making one, nothing beats Vaseline cotton balls. You just have to get a few cotton balls, then rub them until fully coated with vaseline or any petroleum-based jelly or wax. They ignite fast and are quite water-resistant. We suggest storing them in a water balloon or a disposable latex container. Not only will it keep them dry, but it will also avoid making an oily mess in your camping bag. Plus, the balloon will also serve as tinder when you’re in a real hurry building a campfire.
Before you leave, leave no trace!

After enjoying your camping trip, there are a few things you have to do:
- Extinguish the Fire – Sprinkle water from a distance when putting out the fire. Although tempting, do not abruptly pour water on the firepit to avoid generating too much steam that might scald you. Extinguish the campfire until there are no longer visible embers, and its coals are cool to touch.
- Undo the Campfire – If you made the fire bed yourself, and it’s not a public camping ground, disassemble it. The idea to return things to the way they were or even better if possible. Scatter the used coals to fertilize the land and patch the ground back.
- Pick Up the Trash – Lastly, go beyond being a responsible adventurer – be a helpful one, be an example. Don’t just pick up your things or your trash, if you find what others left before you, dispose of them properly.
Touring Monkeys is for those who love an adventure. Our goal is to educate adventurers to become skilled, mindful, and responsible. If you love this blog post, make sure to subscribe to our newsletter and get valuable updates from us.